|
Creating a New Incident |
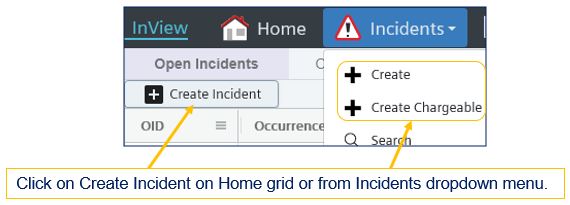
Incidents can be created from the Create Incident button on the Home screen or from the Incidents menu dropdown. |
 |
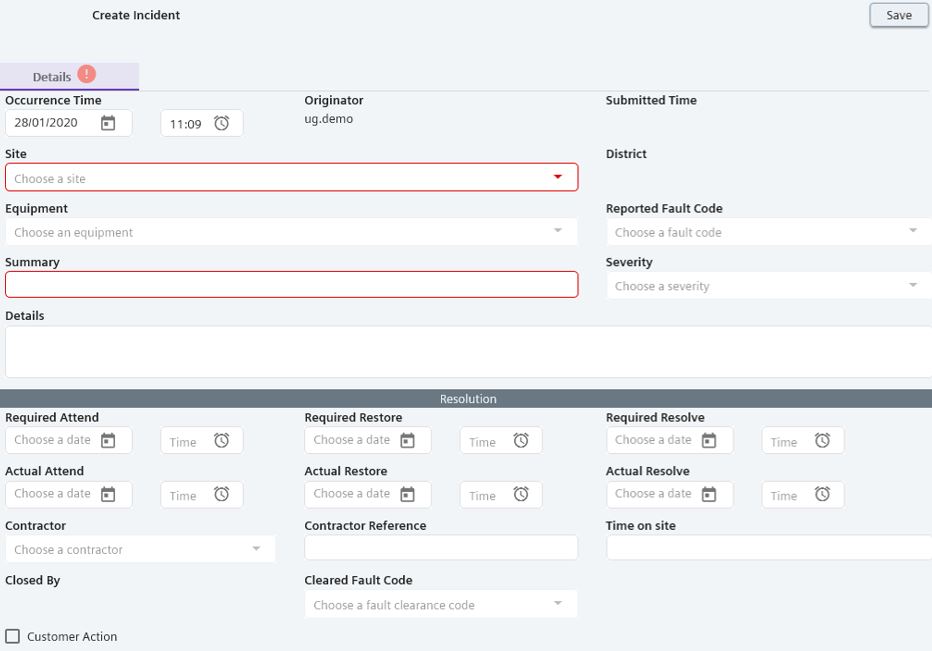
The create incident screen appears as below. The exact design may differ for Availability based contracts and Rail customers. Mandatory fields are highlighted in red. |
 |
|
Completing Dropdown Boxes |
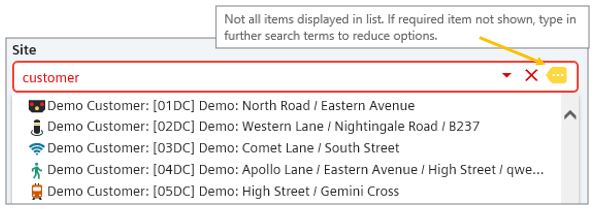
Dropdown boxes are used to select from a list of available entries. Entering text in the box will filter the list. This |
|
|
Saving Incidents |
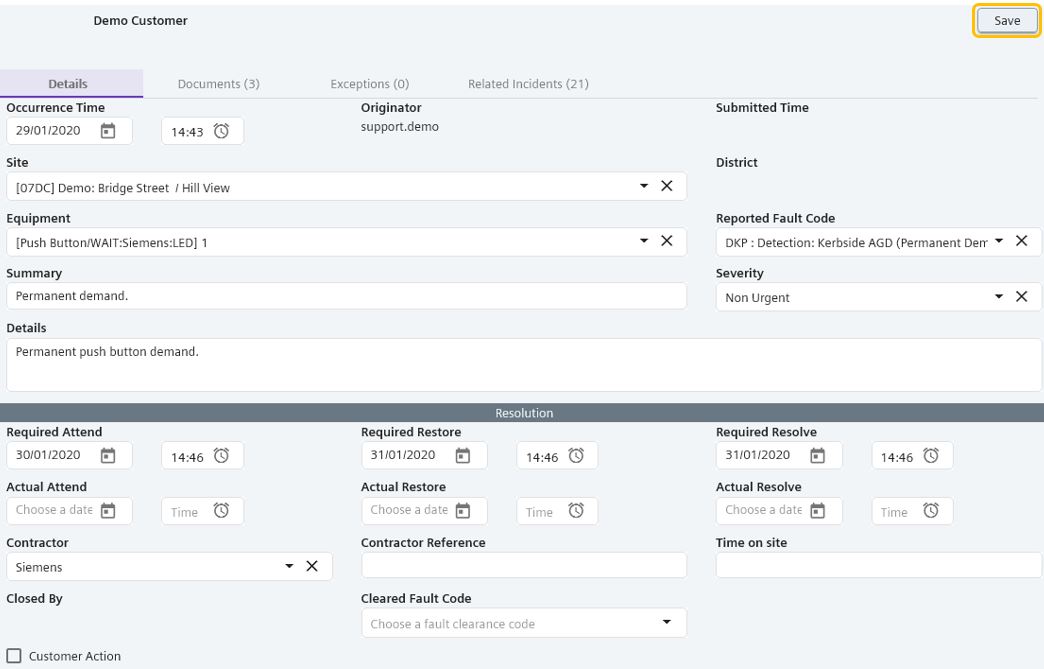
The Site, Fault Code and Summary fields must be completed to create a new incident, The Severity is auto populated based on the Fault Code and the Service Level Agreement for your contract. Additional details may be entered in the Details box. When ready, press the Save button to create the Incident. The screen will change to show the incident ID and lifecycle. The grids will only display this new incident when next refreshed. |
 |
While in the draft state it is possible to make changes to the data and press Save to retain. There are then 2 choices (buttons at the top of the screen) to either Reject (discard this incident) or Submit the incident to the assigned contractor. |
|
Parent/Child Incident Relationship |
It is possible to link Incidents together as Parent/Child. To establish this relationship, create the child Incident by clicking on the "Create Child Incident" button. Thereafter the incidents will be linked, and the relationship can be seen on the Related Incidents tab (below) where the Linked column will indicate either parent or child. The Incident header for the child Incident will also show the id of the parent. |
 |
|
Printing Incidents |
If available, the print |
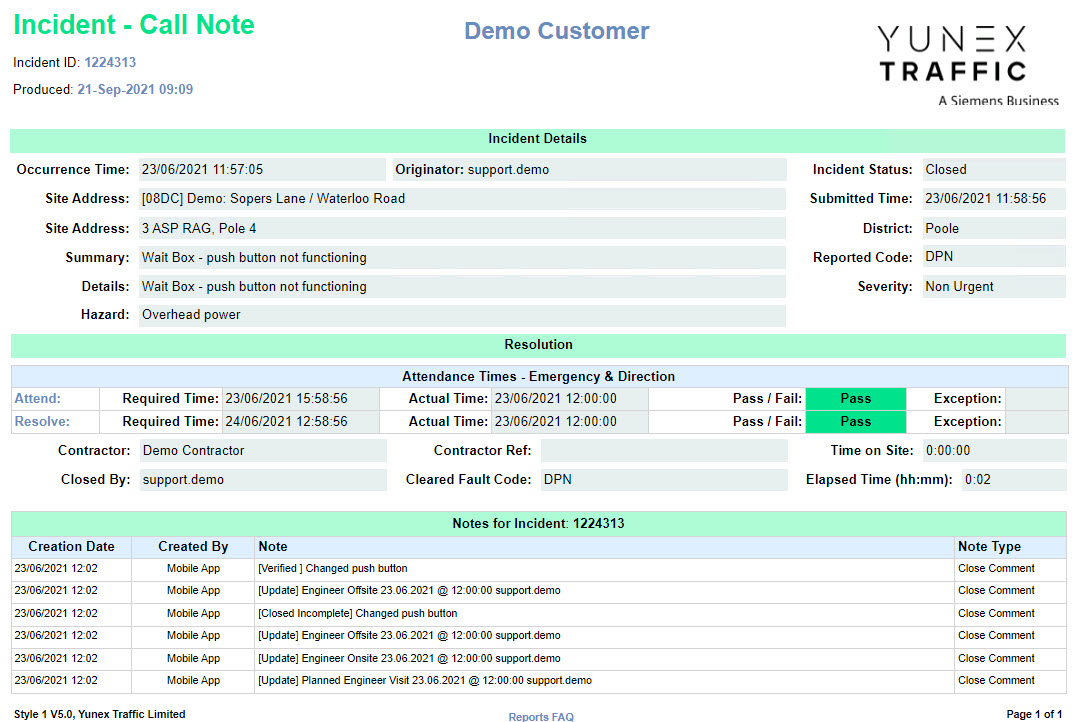 |
| Click here for details on this Call Note report and other available reports. |
 icon indicates there are more entries than can be displayed by the dropdown box. Refine the filter with additional strings until the icon disappears.